Let's Quilt Day
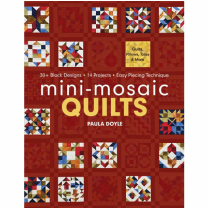
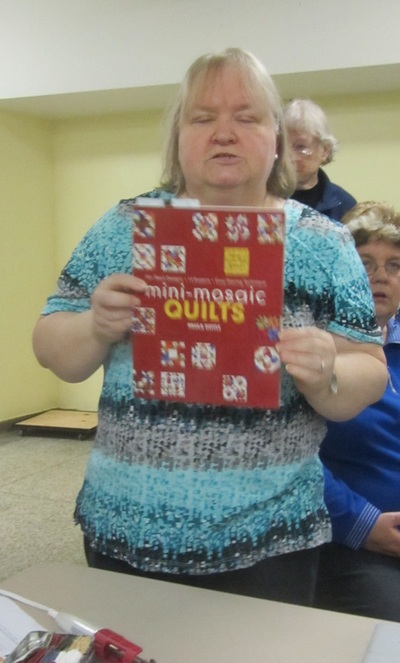
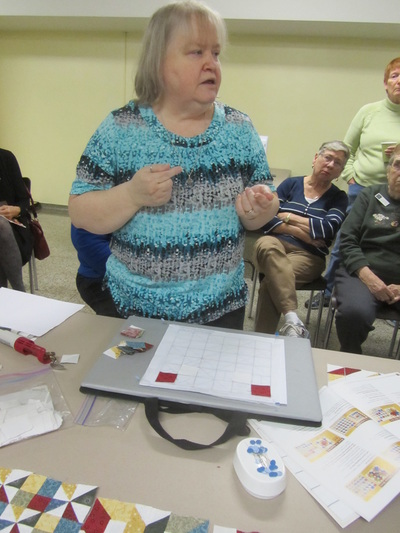
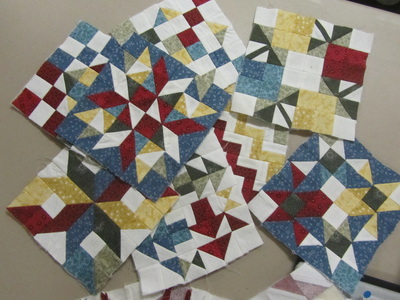
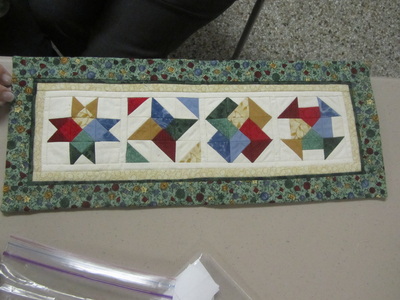
Debbie demonstrated mini mosaic quilts from Paula Doyle’s book.
Debbie demonstrated mini mosaic quilts from Paula Doyle’s book.
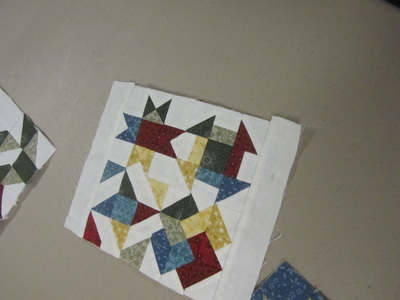
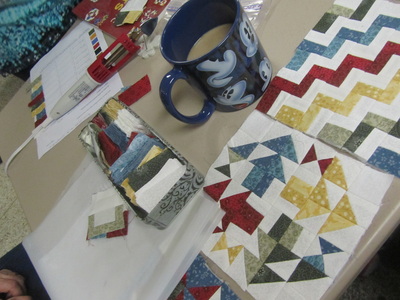
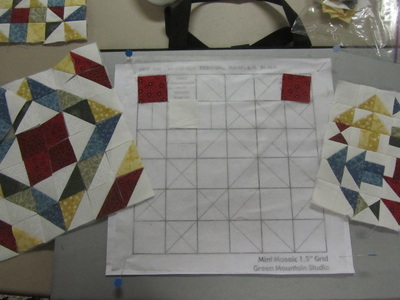
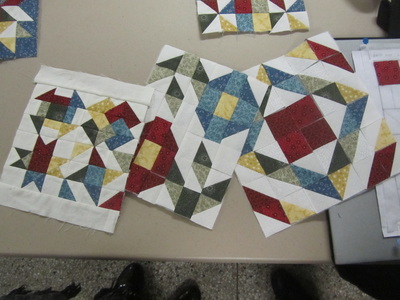
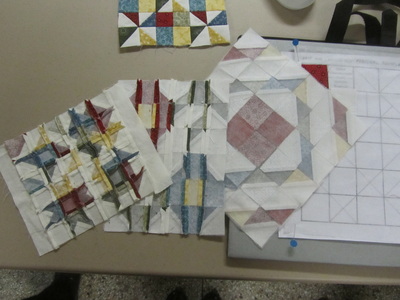
Debbie had made many of the blocks from the book which she displayed for us. She started by showing us a sheet of paper with a sample of each of the fabrics used in her blocks. Debbie also has a candy box of cut fabrics which are then made into squares and then re-cut by using freezer paper as a template to make various squares or mosaics (half square triangles, etc.) that go into making a block. The various mini squares or mosaics are placed on a thin fusible interfacing (sticky side up) which is placed and pinned over a paper grid. Once placed the squares are pressed down with a mini iron to secure their position. Prior to stitching the rows together, excess interfacing is cut away and then the whole square is pressed under a pressing sheet (or parchment paper) to protect the iron. All the seams are stitched in the one direction (vertically) and then the seam will need to be cut open or at least the interfacing needs to be cut open and then pressed. Then the seams in the other direction (horizontally) will need to be stitched, cut open and pressed. Viola a mini mosaic block is done.
Our Guild library has the book.
Our Guild library has the book.
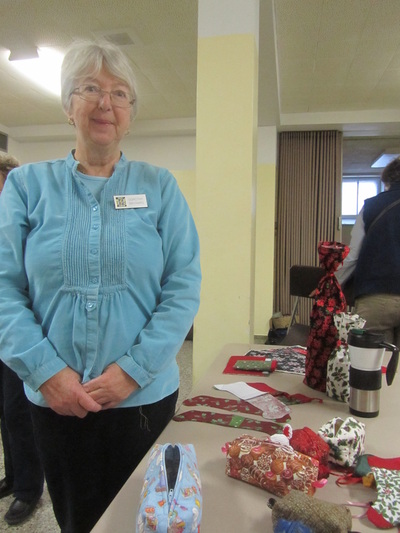
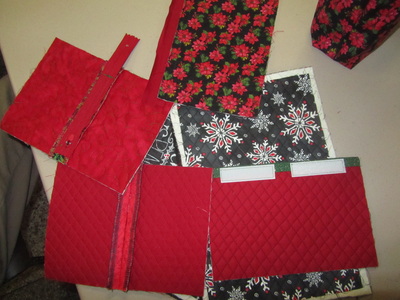
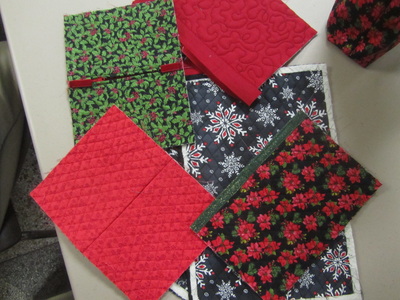
Dorothy showed us an array of small Christmas gifts to make and how to make them step by step:
- Wine bottle bags and a bag for a jar of jam bag with a square bottom. Dorothy calls this method of making square bottoms, “tipping the corner” because she is squaring the tip off.
- Coin / change purse with a Velcro closure – it’s sure to keep the coins in the pouch and not in the bottom of your purse.
- Zippered pouches in various sizes with squared corners or should I say: “tipping the corner.”
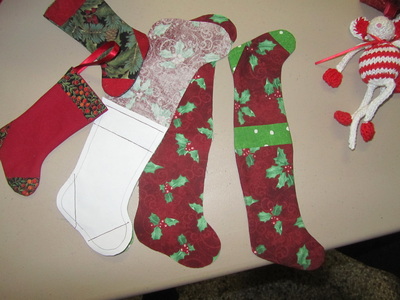
- Miniature Christmas stockings to use to put in gift cards, as tree decorations, for holding a few treats, etc.
Thank you to both Debbie and Dorothy.


 RSS Feed